The next available minute I googled methods to make my very own! I had had enough of attempting to alter my clothing by pinning it on myself then sewing a tiny bit and repeating the process a million times.
Materials:
1 roll of duck tape
3 cans of expanding insulation foam
1 large trash bag
Tape measure
Scissors
Ribbon
Mod-podge for paper mâché
Paper bags or pictures for paper mâché
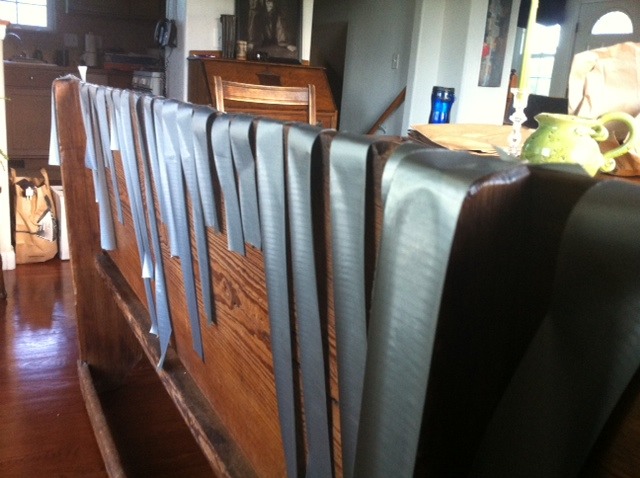
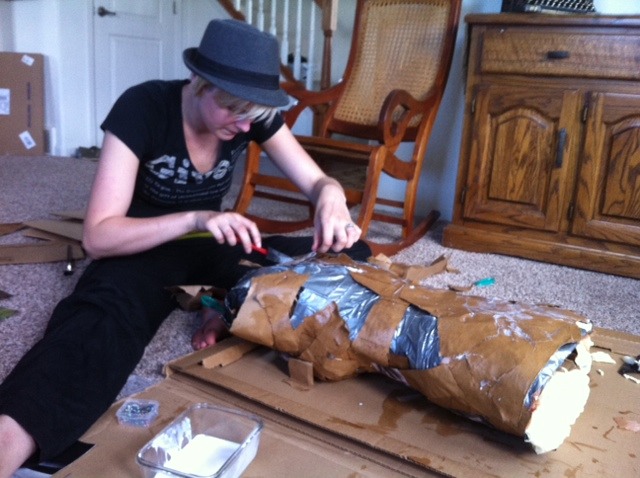
Begin the process by cutting a good amount of duck tape into strips of varying length.
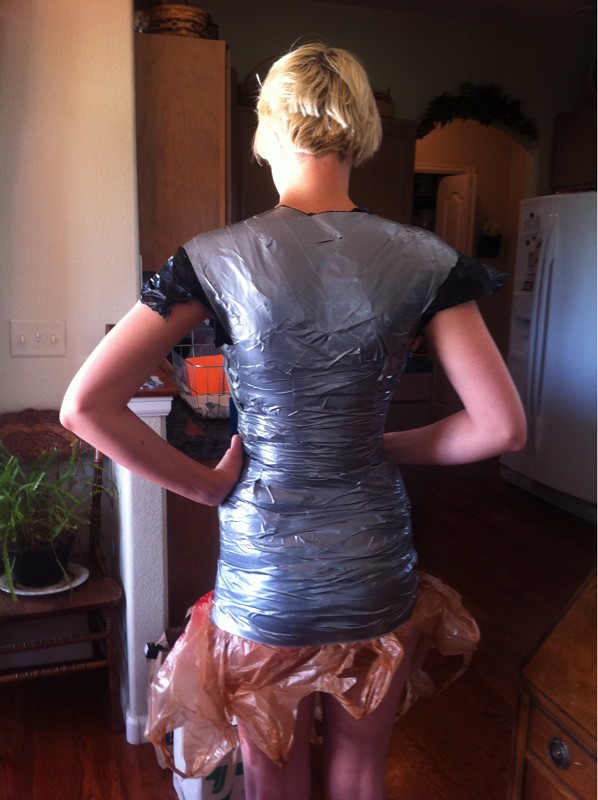
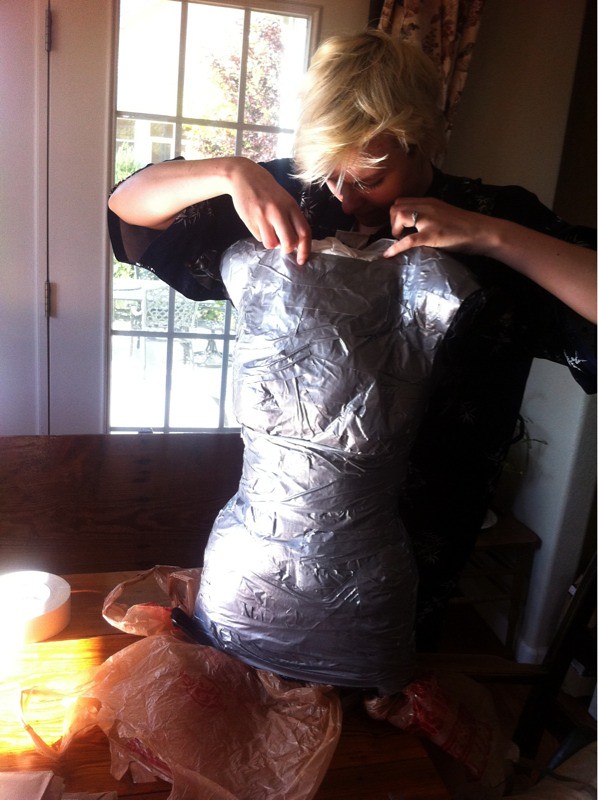
Next cut a hole in the top of the trash bag for your head and in the sides for your arms. Slip it on. Work quickly so you don't die of heat exhaustion. This part is actually more suited for 2 people. Begin taping the body shape over the bag beginning at the lower edge and making sure it lies tightly against the body. Pay special attention to the chest and shoulder region, it will take more tape in shorter pieces. I did most of this part on my own then got Johnny to help me with the shoulders and neckline. I placed grocery bags where the trash bag didn't cover all my skin so the tape wouldn't stick. Cover the whole body 3 to 4 times with tape so it won't move around when you take it off.

Now comes the fun part. Have whoever is assisting you cut a line down the back so you can escape from the duck tape mold. When you're out, tape it back together again. During this part the shoulder on mine collapsed but I was able to push it back out to the correct spot.
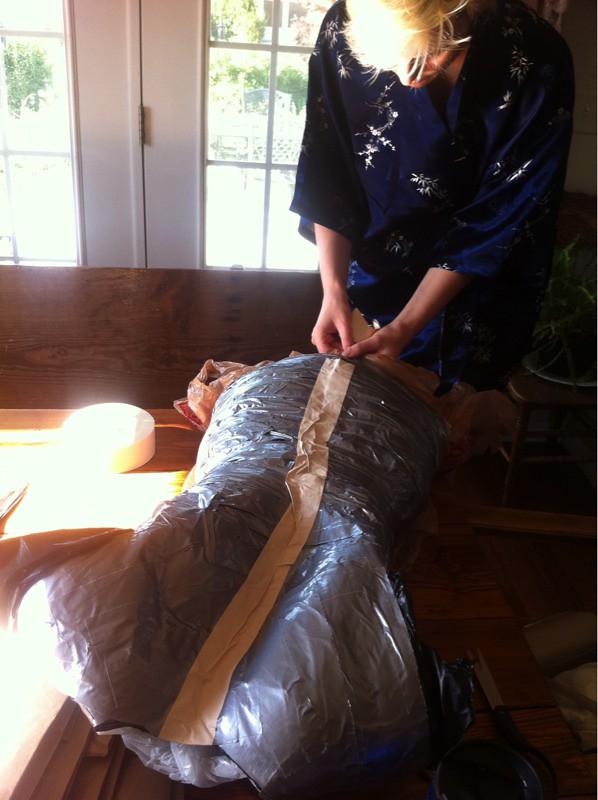
Now that you have a nice mold of your body head out to a well ventilated area for the stuffing process! Warning - the spray insulation is crazy sticky! So I recommend wearing gloves. Before filling with insulation foam I filled my form with some additional bags to keep it in the correct shape.
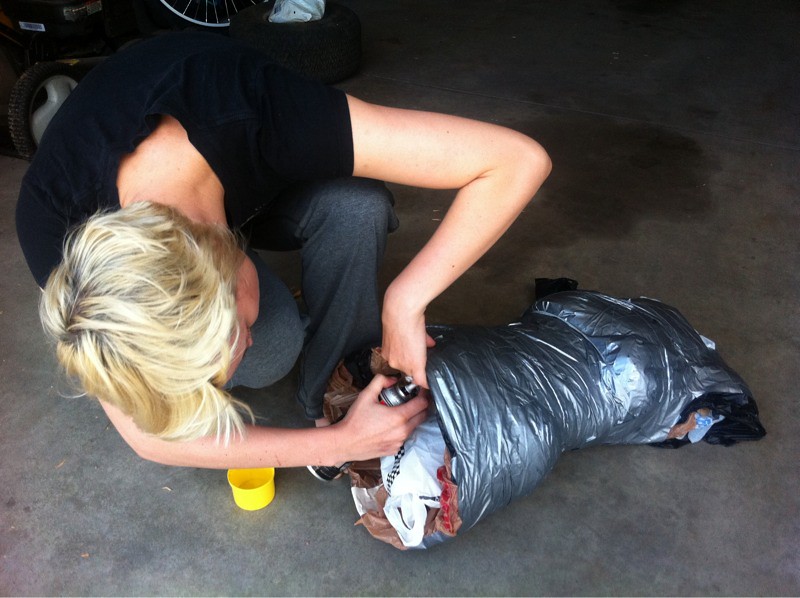
Fill in the whole form with foam including the center of the body. On a side note - make sure you have enough insulation to fill the whole thing, I originally only bought 1 can and had to run to Walmart in the middle of the process to get more. Keep your tape measure handy so you end up with the correct dimensions after filling.
Wait until foam has completely hardened before proceeding.
If there are any areas that could use more stuffing go ahead and fill them with crumpled newspaper. The goal here is just to make a solid form.
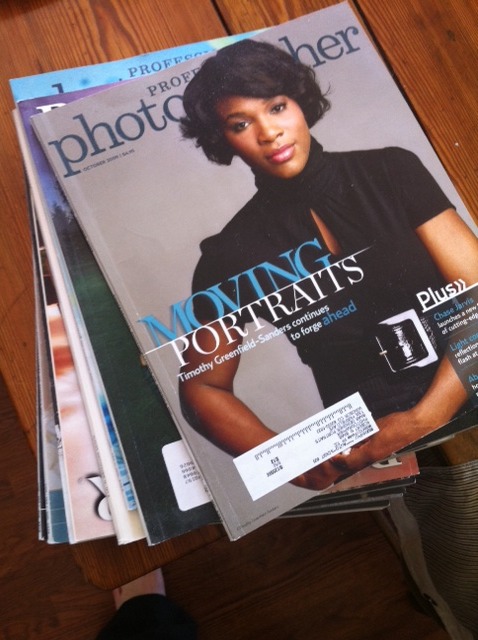
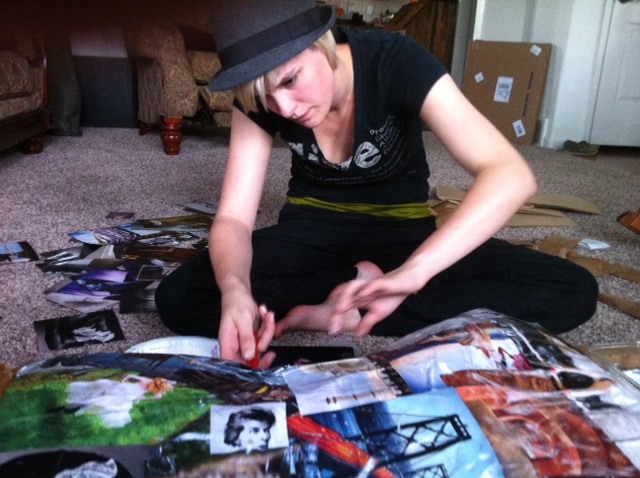
When I was researching this process I found that some chose to remove the tape but that seemed pretty unlikely to work out in my case so I decided to leave the tape on and paper mâché over the top of it. I am a sucker for great pictures so I asked my dad if I could cut some out of his older photography magazines.
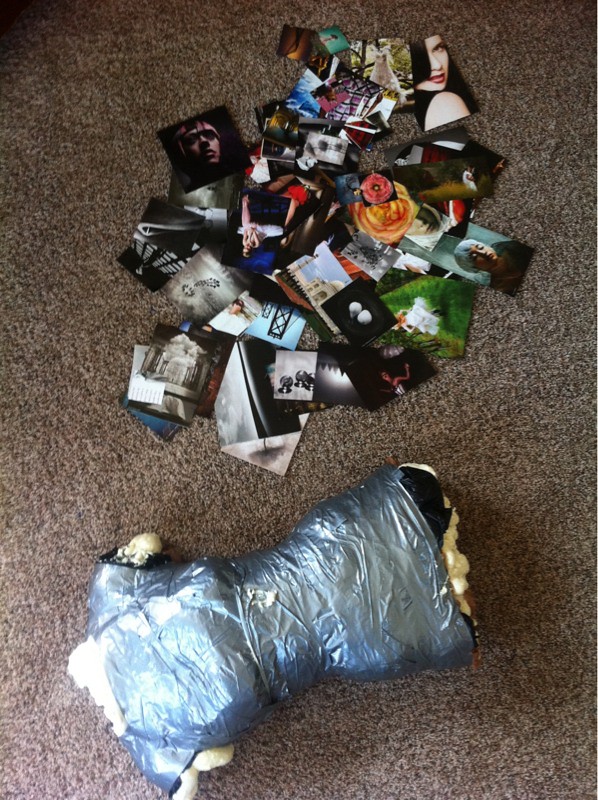
I found some photos I was fond of then prepped the form for mâché by cutting off the insulation that had expanded out the arms and neck. Then I began attaching the first layer of paper (which was just strips of brown paper bag) using mod-
podge.
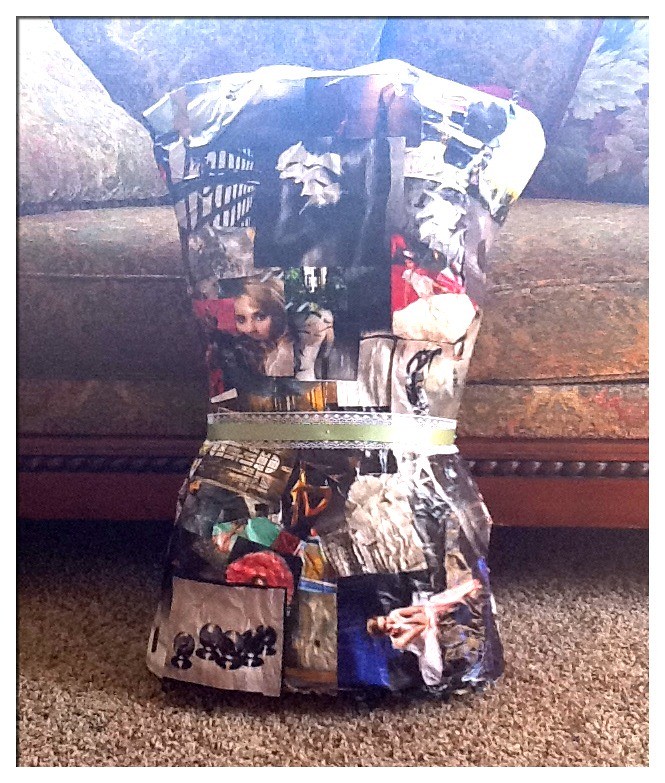
After the first layer is done, begin attaching photographs (or if you prefer just leave it brown)
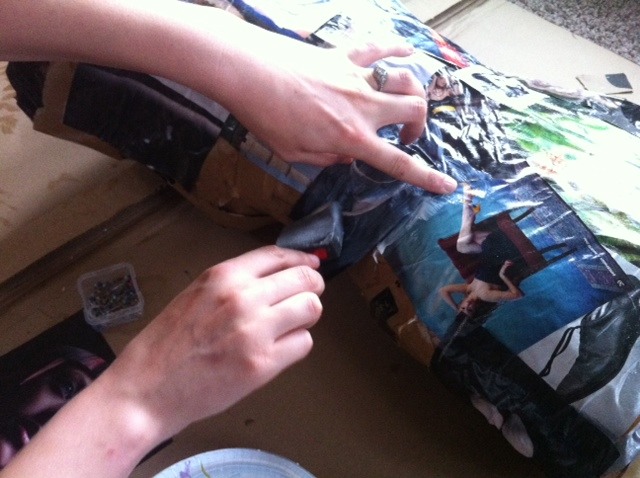
Once the entire body is covered and looks like you want it to, cut a piece of ribbon and place it around the natural waistline as a reference when fitting.
Ta-da! And there you have it, a homemade dress form!

That is so cool!
ReplyDelete